Mini: Creative Code
The process of creating art with code
Good day.
Today I'm writing about creative coding, which is writing code as an artistic expression rather than for general function. Much like code golfing, creative coding is an excellent exercise for expanding your skillset (although it exercises very different skills).
Here's what I created for this tutorial:
Inspiration
The first step to any art is inspiration. You'll need some kind of idea to spark interest in the first place. For me, I'll often think of something that I haven't seen before and go from there. How about a wormhole?
Sometimes I'll look up images for inspiration. Here's one I found that I like:
Make sure that your inspiration is somewhat achievable. If you're writing your first shader, don't go for a complex 3D thing. Start with something that you have some knowledge of how to recreate. For example, if you know a little about noise algorithms, try some procedural clouds, terrain, or caves.
This idea can be created with some knowledge of polar coordinates and texture warping, so hopefully, you can follow along.
Prototype
Your prototype process will vary a lot depending on what type of shader you're making, but the core idea is to implement the basic version of your idea (don't worry about the details yet).
So for the wormhole, my first idea is to take a texture, warp it in toward the center, and twist it outward.
My idea here is to convert the square coordinates to polar coordinates:
vec2 uv = vec2(length(p), atan(p.y,p.x) / PI - length(p));So here, the texture x-coordinate represents how far from the center we are, and the y-coordinate is the (angle divided by pi, so it ranges from -1 to +1). By subtracting length(p), we're twisting the texture.
Now, if we use these coordinates on our texture, we get this spiral pattern:
Tweaks
I now have a basic prototype, and it's time to fix some issues. Firstly, the spiral has a line artifact that can appear with texture filtering. This is because the atan function is discontinuous, making the y-texture coordinate jump from -1 to +1 on the horizontal line. We can fix it with this magical line:
float angle = p.x>0.0 ? atan(p.y, p.x) / PI : 1.0 - atan(p.y, -p.x) / PI;This simply flips and inverts the function when it's on the wrong side, so that the function appears continuous.
Secondly, I don't like the spiral. It appears to twist too little in the middle and too much at the edges. The problem is we're using linear polar coordinates when we should be using log-polar coordinates:
float log_radius = log(length(p)) - seconds*0.5;Now, if we use 'log_radius' instead of length(p) we can maintain the same twist regardless of how close we are to the center, and it's much easier to animate.
And finally, let's give our gray texture some color:
gl_FragColor = tex * vec4(0.5, 0.8, 1.3, 1.0);Here are the results of these 3 changes:
Iterate, iterate, iterate
At this point, it's just a matter of fine-tuning the exact look to your liking.
I tried many different variations before I found one that I liked, and it ended up totally the effect from a wormhole to a hurricane. This is totally fine!
Sometimes, when playing around with values, I discover something totally new that looks cooler than my idea. Anyway, here are some of the variations I tried:
fragColor = pow(r-tex*r, vec4(3,2,1,1));
fragColor = pow(tex*r, vec4(1.5,1.2,1,1));
float angle = (p.x>0.0 ? atan(p.y, p.x) / PI : 1.0 - atan(p.y, -p.x) / PI) * 0.5;
Conclusion
With your own shaders, it's good to take some time to try tweaking these and see what happens. Especially if you're borrowing someone else's code! This is one of the best ways to get a deeper understanding of how the stuff works.
Here's the final result I came up with:
You can see it in action here with the animation and source code.
Thanks for reading
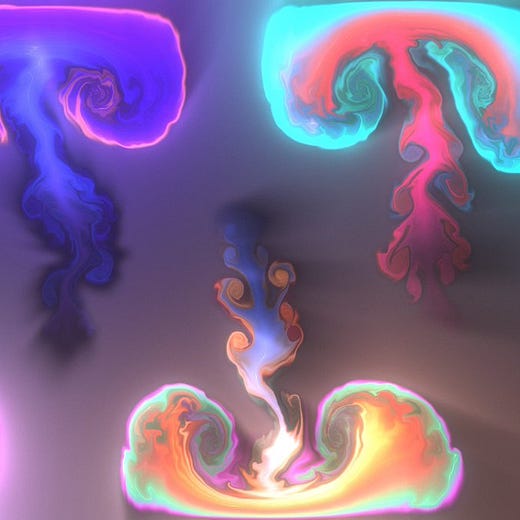
FLUID CHALLENGE
I'm challenging my followers to write a fluid system for GameMaker. Details below!


