Mini: Dither
How to smoothly blend colors without mixing
Hi readers,
Today is all about dithering. Dithering can be used for cartoon or retro stylization or it can be used to make more expensive effects look smooth with less of a performance cost! I mentioned last week that I used dithering to smooth out my shadows:
GM Shaders Mini: MandelBots
Hi folks! You may have noticed I’ve been gone for a little while. I haven’t forgotten you, but I have been quite busy working on an experimental game concept I had. If you’ve been following me on Twitter, you probably know what I’m talking about, but in case you haven’t, I’ll summarize it briefly here.
Today, we’ll take a deeper look at how this worked so that you can use this in your games. Let’s start with a look at three common types of dithering!
Dither Algorithms
At the core of dithering, it’s about taking a gradient and reducing it to fewer colors. This is sometimes done for artistic or aesthetic reasons, but it also can be used for technical reasons. In the past, I’ve used dithering for motion blur, volumetrics, volumetric shadows, and Depth Of Field.
In any case, the first step is to reduce the palette. Here’s how it’s typically done:
//Round to the nearest shade
vec4 col = floor(tex * SHADES + 0.5) / SHADES;
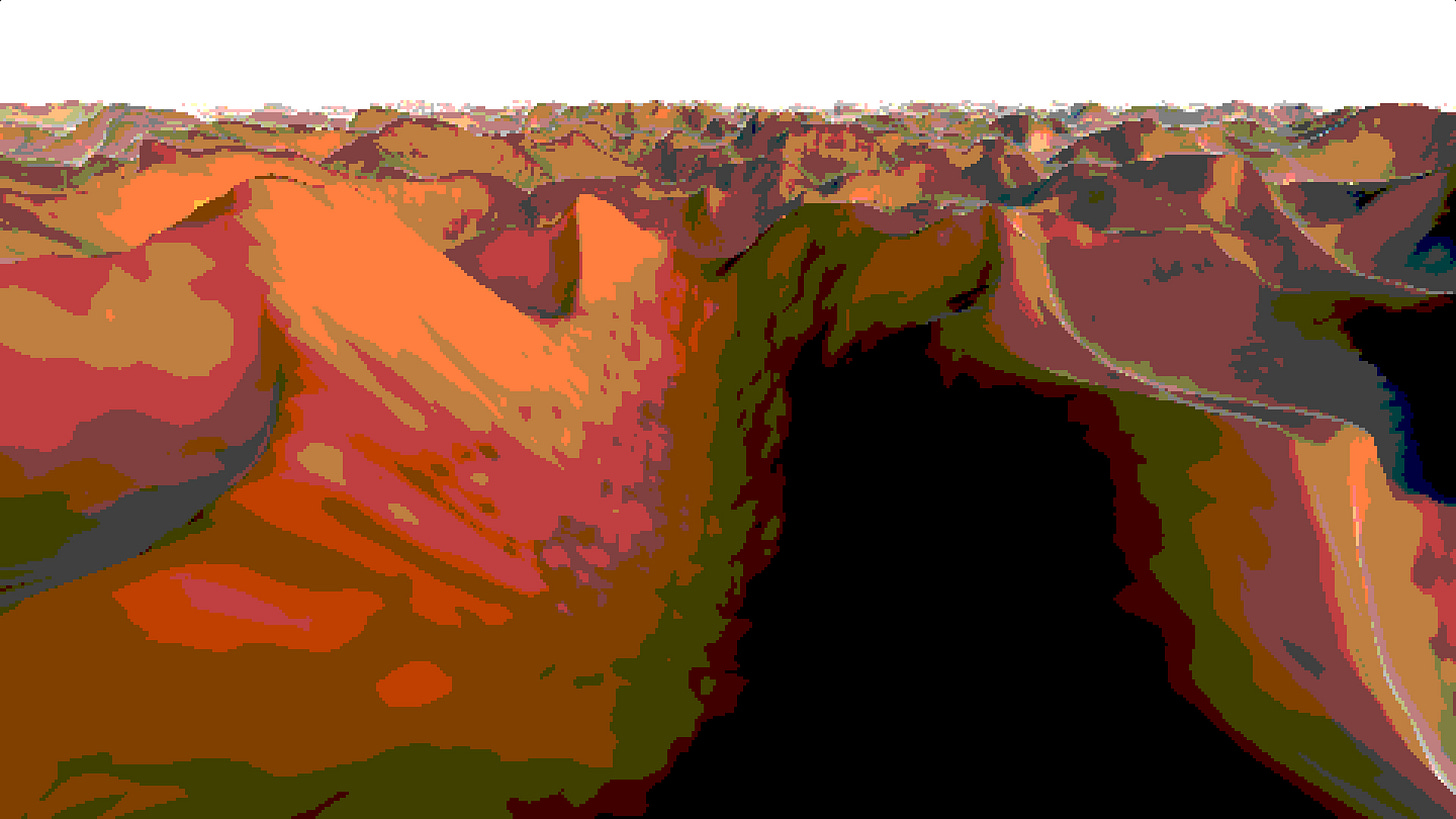
Here’s a mountain shader, limited to 4 shades per channel:
This could be used as a sort of toon effect. It’s also the foundation for the other dithering effects:
Ordered (Bayer)
The concept behind ordered dithering is to give adjacent pixels different thresholds. See this illustration:
There are only 2 shades here but by using different crosshatch patterns it appears like 17 different shades. This is using a thing called a “Bayer matrix”. It can be computed at any power of 2 resolution using this recursive formula:
But honestly, I never took the time to learn this formula by heart. Instead, I just found someone who pre-computed it on textures, for easy use. No need to compute this when it can just be baked to a tiny tileable texture and read later.
Here’s what it looks like on those same mountains (still 4 shades per channel)!
My code looks like this:
//Sample bayer texture with texrepeat enabled!
float dither = texture2D(u_bayer, pixel / BAYER_SIZE).r;

//Round to the nearest shade
vec4 col = floor(tex * SHADES + dither) / SHADES;
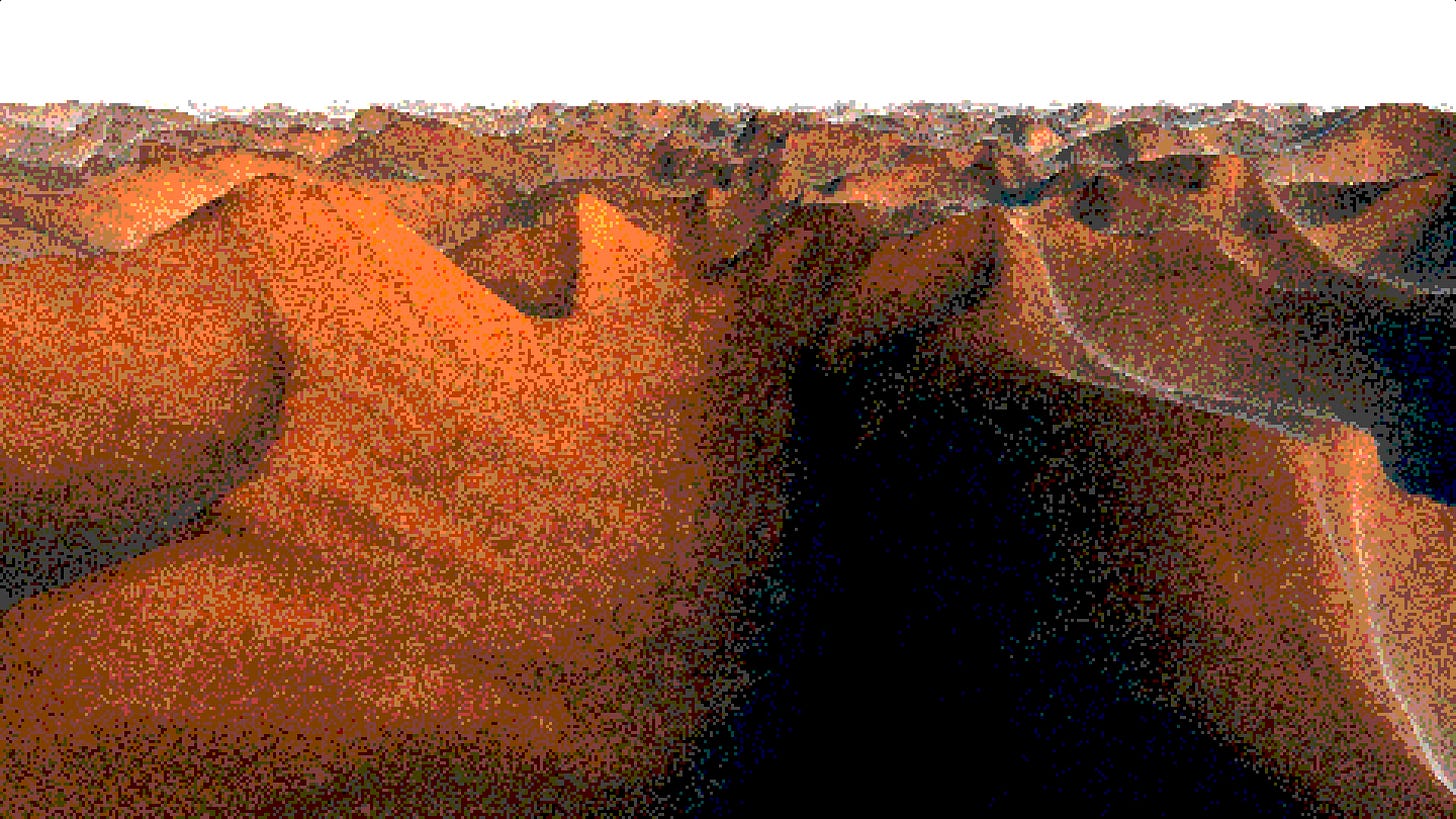
White Noise
Another common option is using white noise instead of a Bayer matrix. This creates an interesting, grungy look:
I often end up using this because it’s easiest to compute in a shader, but Blue noise is even better!
Blue Noise
Blue noise is a special type of noise, similar to white noise, except with a more even distribution of values. Frankly, it’s a large topic that could have a whole tutorial on its own, but if you want to read more, check out the link above! It has many applications in computer graphics, so it’s a great idea to look into it.
For our purposes though, we just need to know that it looks better than white noise!
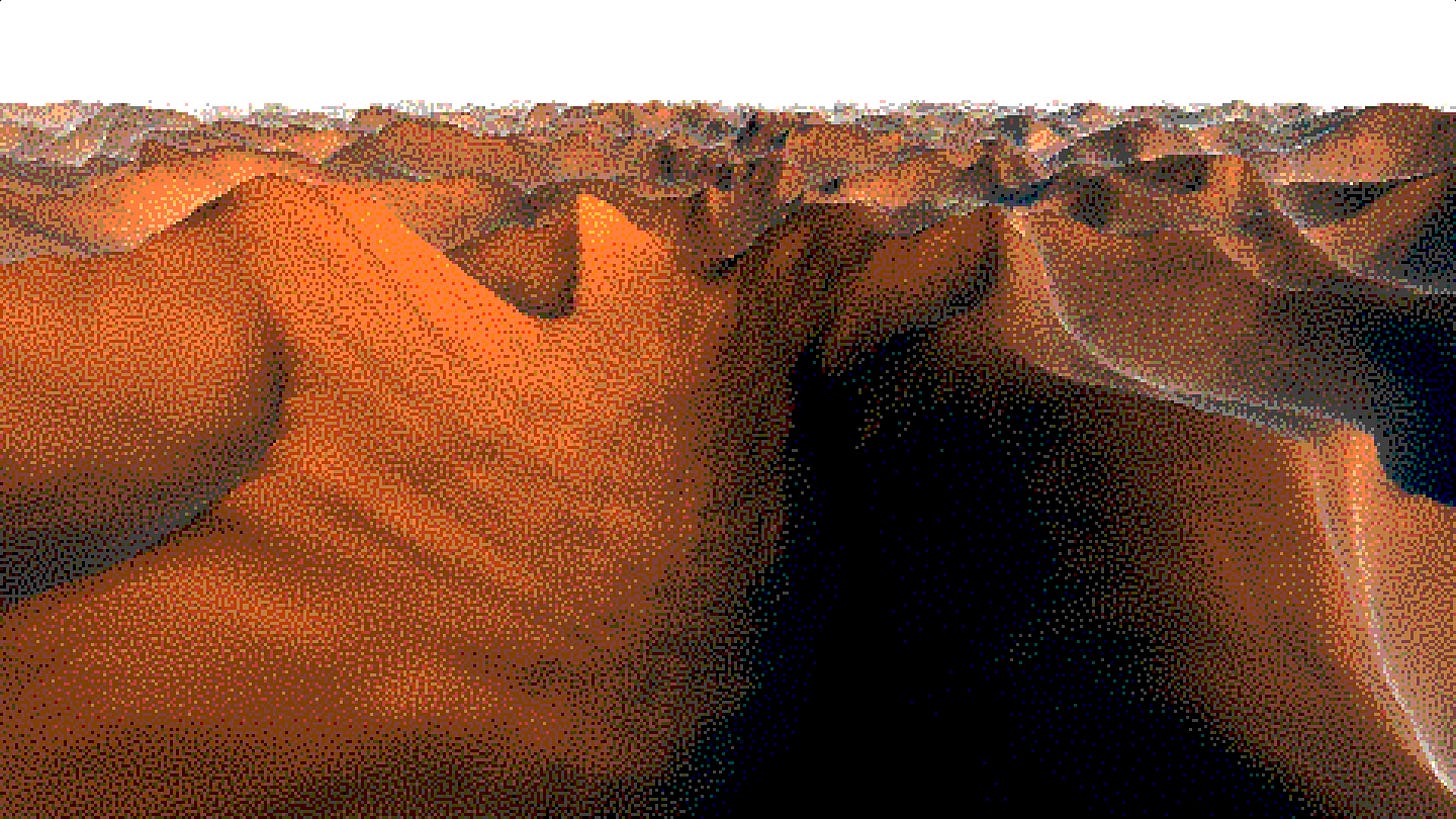
Notice that there is no clustering of points and it’s all pretty well distributed it. Applying this to our mountain scene makes a huge difference!
Gradients become extremely defined and clear, all without discernable patterns.
The only problem is computing it is quite expensive and not suitable for realtime applications. Instead, you can download a bunch of them for various resolutions using the following link:
momentsingraphics.de/Media/BlueNoise/FreeBlueNoiseTextures.zip
In some expensive applications like raytracing, the noise then gets animated (using shifting or multiple frames) and blended with the last frame allowing it to look smoother with noisy data! I used this technique in my “Radioactive” ShaderToy for smoother path-traced lighting.
Conclusion
A full ShaderToy example 4 all four types is available here.
Dithering may seem a bit old, but there are still many applications for it even in 2023. Sometimes it’s used for giving a 3D game, a retro 2D look, sometimes for cartoony lighting, or for smoother shadows with fewer samples.
Blue noise is even used today for computing raytracing in real-time (usually paired with a strong denoiser). I hope this tutorial shows you how color banding and noise aren’t always a bad thing. Sometimes they make a great addition to the look of a game!
Until next time, take care!
-Xor


