
Volumetric Raymarching
Rendering clouds, fire, smoke, light rays and more with raymarching

Welcome back,
Let’s learn how to render some clouds, smoke, fire, and volumetric lighting.
Density Fields
First, for some background, we’ll start with Signed Distance Field raymarching, which I covered here:
Raymarching

Today we're covering "raymarching" or specifically "sphere-assisted raymarching" which is a powerful raycasting algorithm. It's frequently used by shader enthusiasts because it's relatively easy to work with and can add extra effects like soft shadows and glow as a byproduct.
With regular sphere-assisted raymarching, you check the distance from the camera to the nearest surface and step that distance in the ray direction. Next you check the distance field at that sample point and step forward again, repeating this 50 to 100 times. In the end, you should have a good approximation of the first intersection point with the ray and the surface.
For volumetric rendering, I use a similar approach, but instead of distance field, I use a “density field”. With volumetrics, we don’t have to care as much about the final intersection point, but we do want to focus on taking more samples in high density areas. For example, here is a basic tunnel, but with smaller steps:
//Density field (Tunnel + irregular gyroid)
//https://www.shadertoy.com/view/XcBBRz
float volume(vec3 p)
{
    return 3.5 - 0.25*length(p.xy) + 0.5*dot(sin(p), cos(p*0.618).yzx);
}
The 3.5 sets the radius of the tunnel and the length(p.xy) makes a ton along the z-axis. The 0.25 scales the steps down so that raymarcher takes smaller steps along the ray and the dot product sine wave technique adds some distortion cheaply.
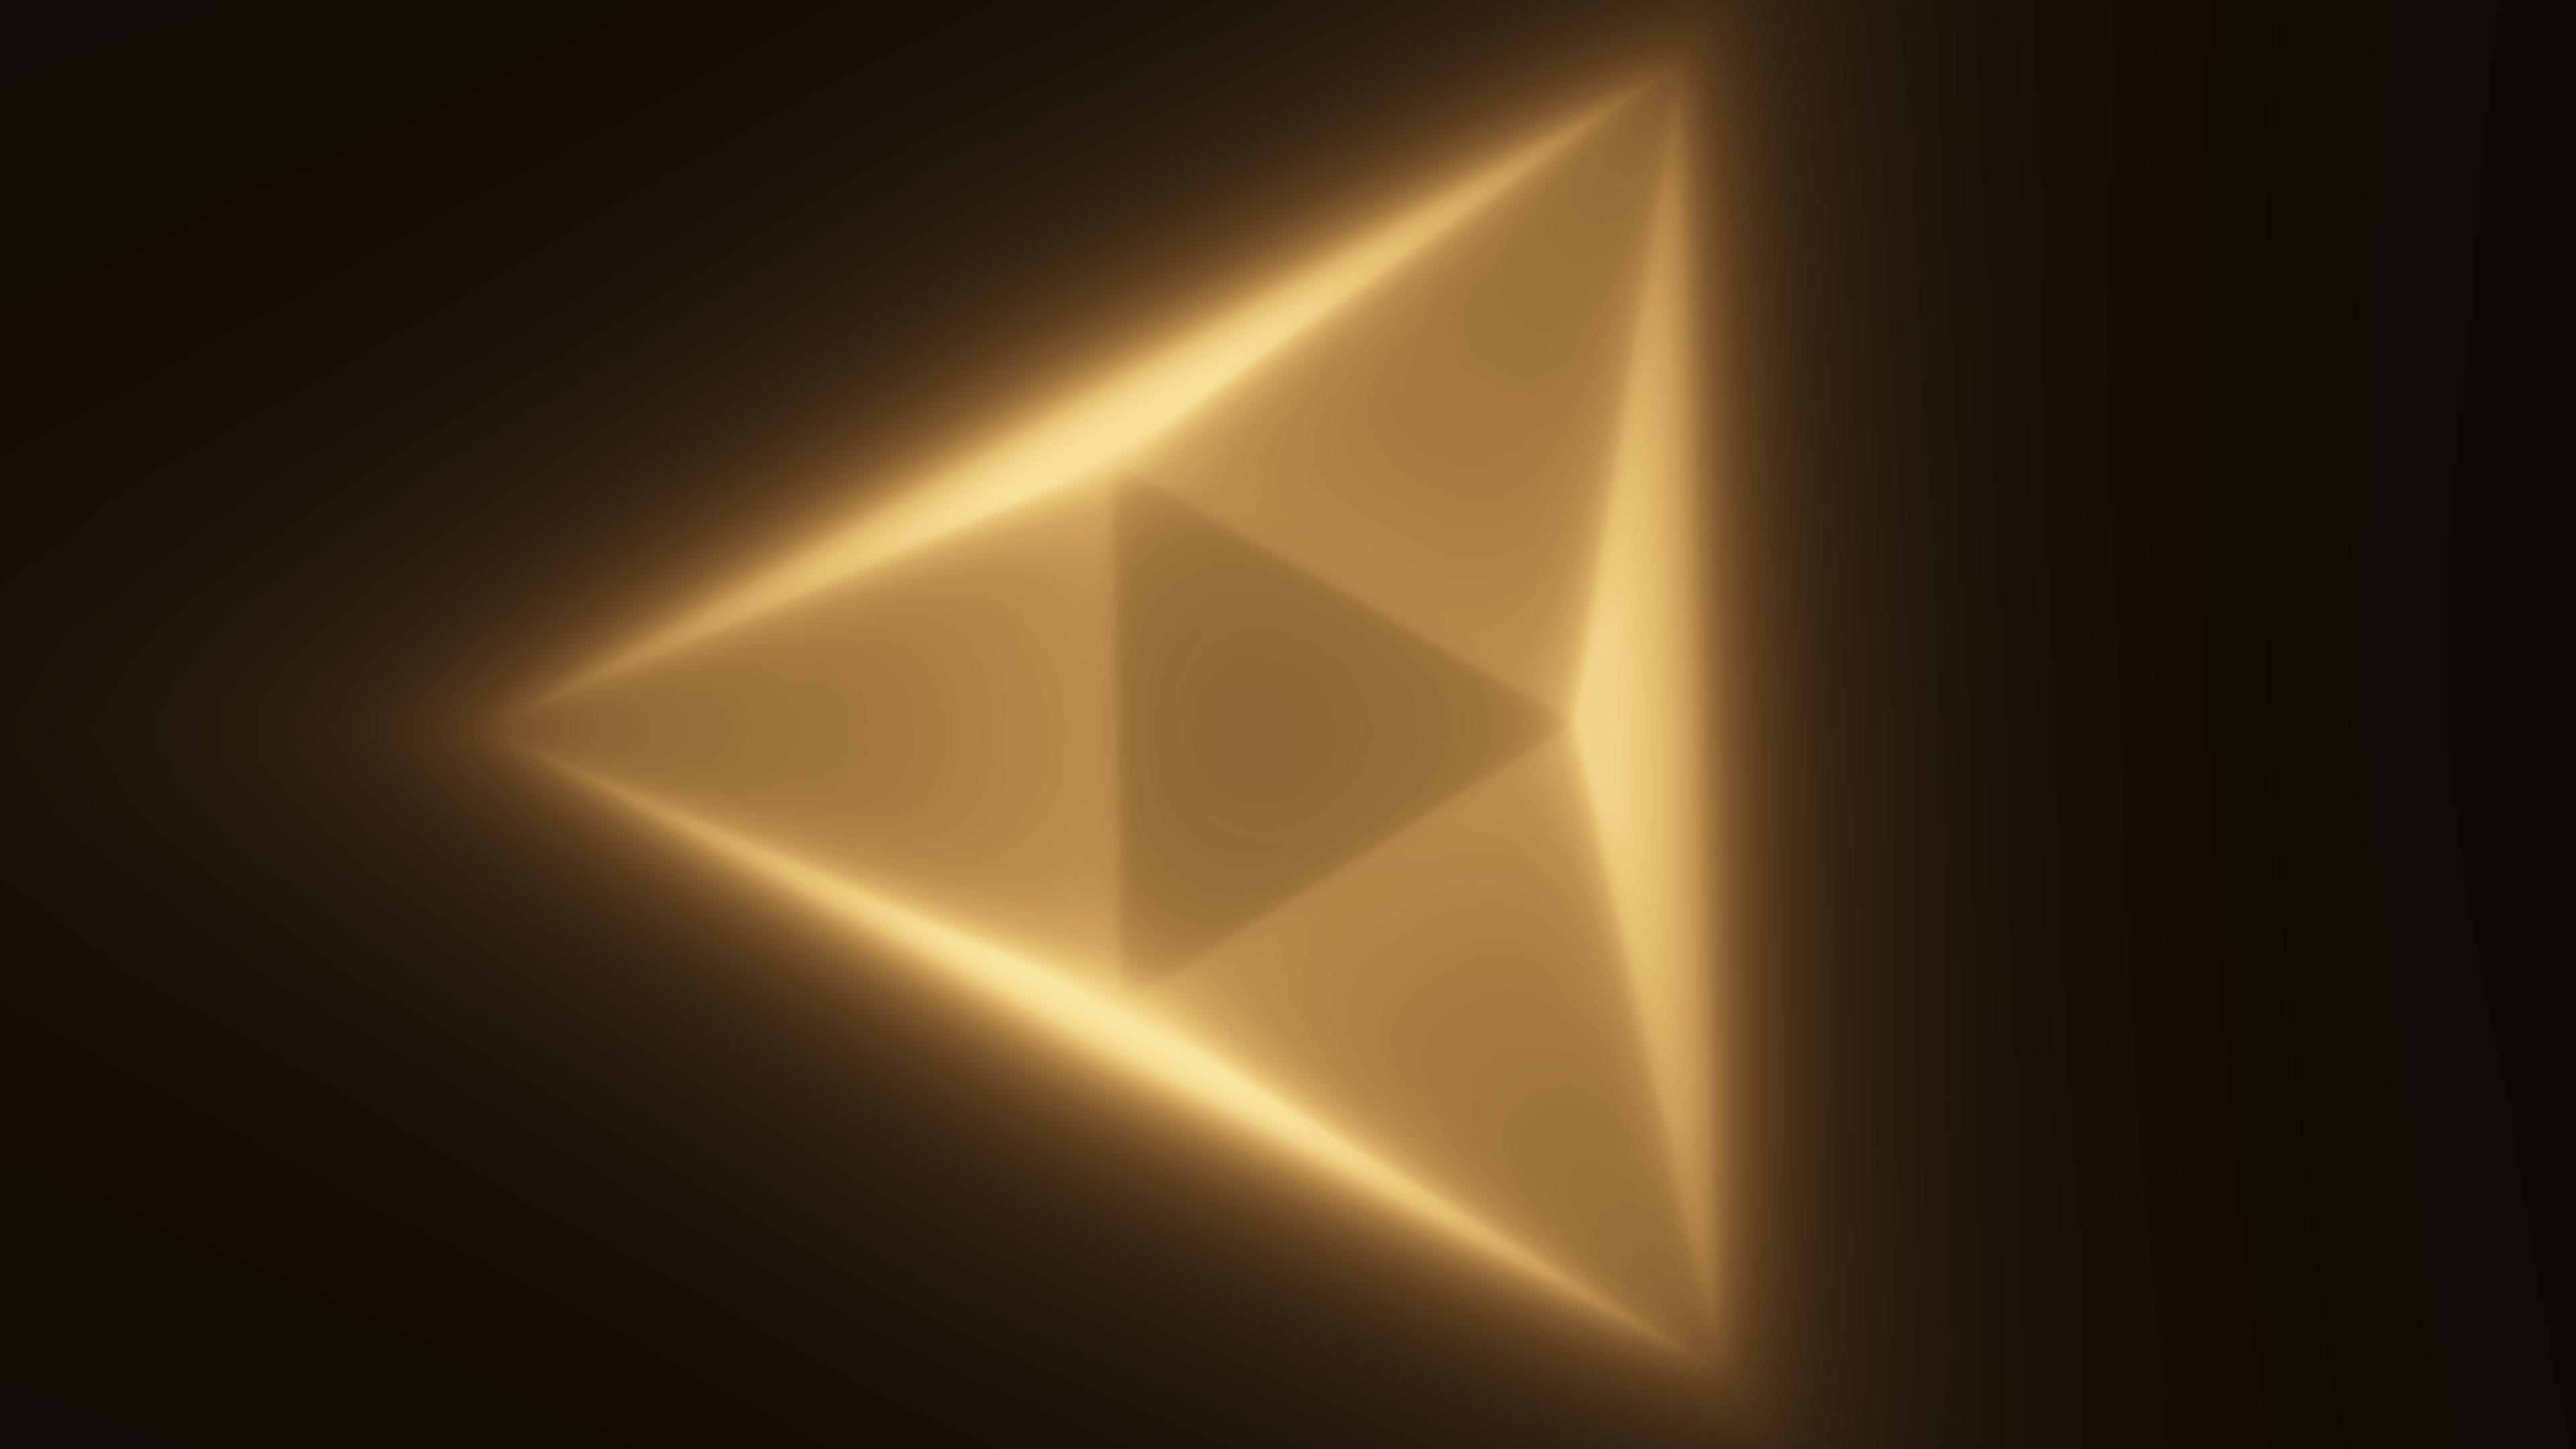
When rendered, it looks like this:
Sample Accumulation
Typically, with raymarching, you sample the color once, outside the raymarch loop, at the intersection point, but with volumetric rendering, you sample the color at every point along the ray and accumulate the samples. It is easier to accumulate light then to try to deal with scattering and opacity.
We’ll look at a simplified glowing example first:
//Fog density
#define DENSITY 1.6
//Surface pass rate
#define PASSTHROUGH 0.1
//Octahedral density field
float volume(vec3 p)
{
//Mirror the axes and average them up
float sum = dot(abs(p), vec3(1.0/3.0));
//Find distance to the edge with a passthrough
return abs(sum - 2.0) / DENSITY + PASSTHROUGH;
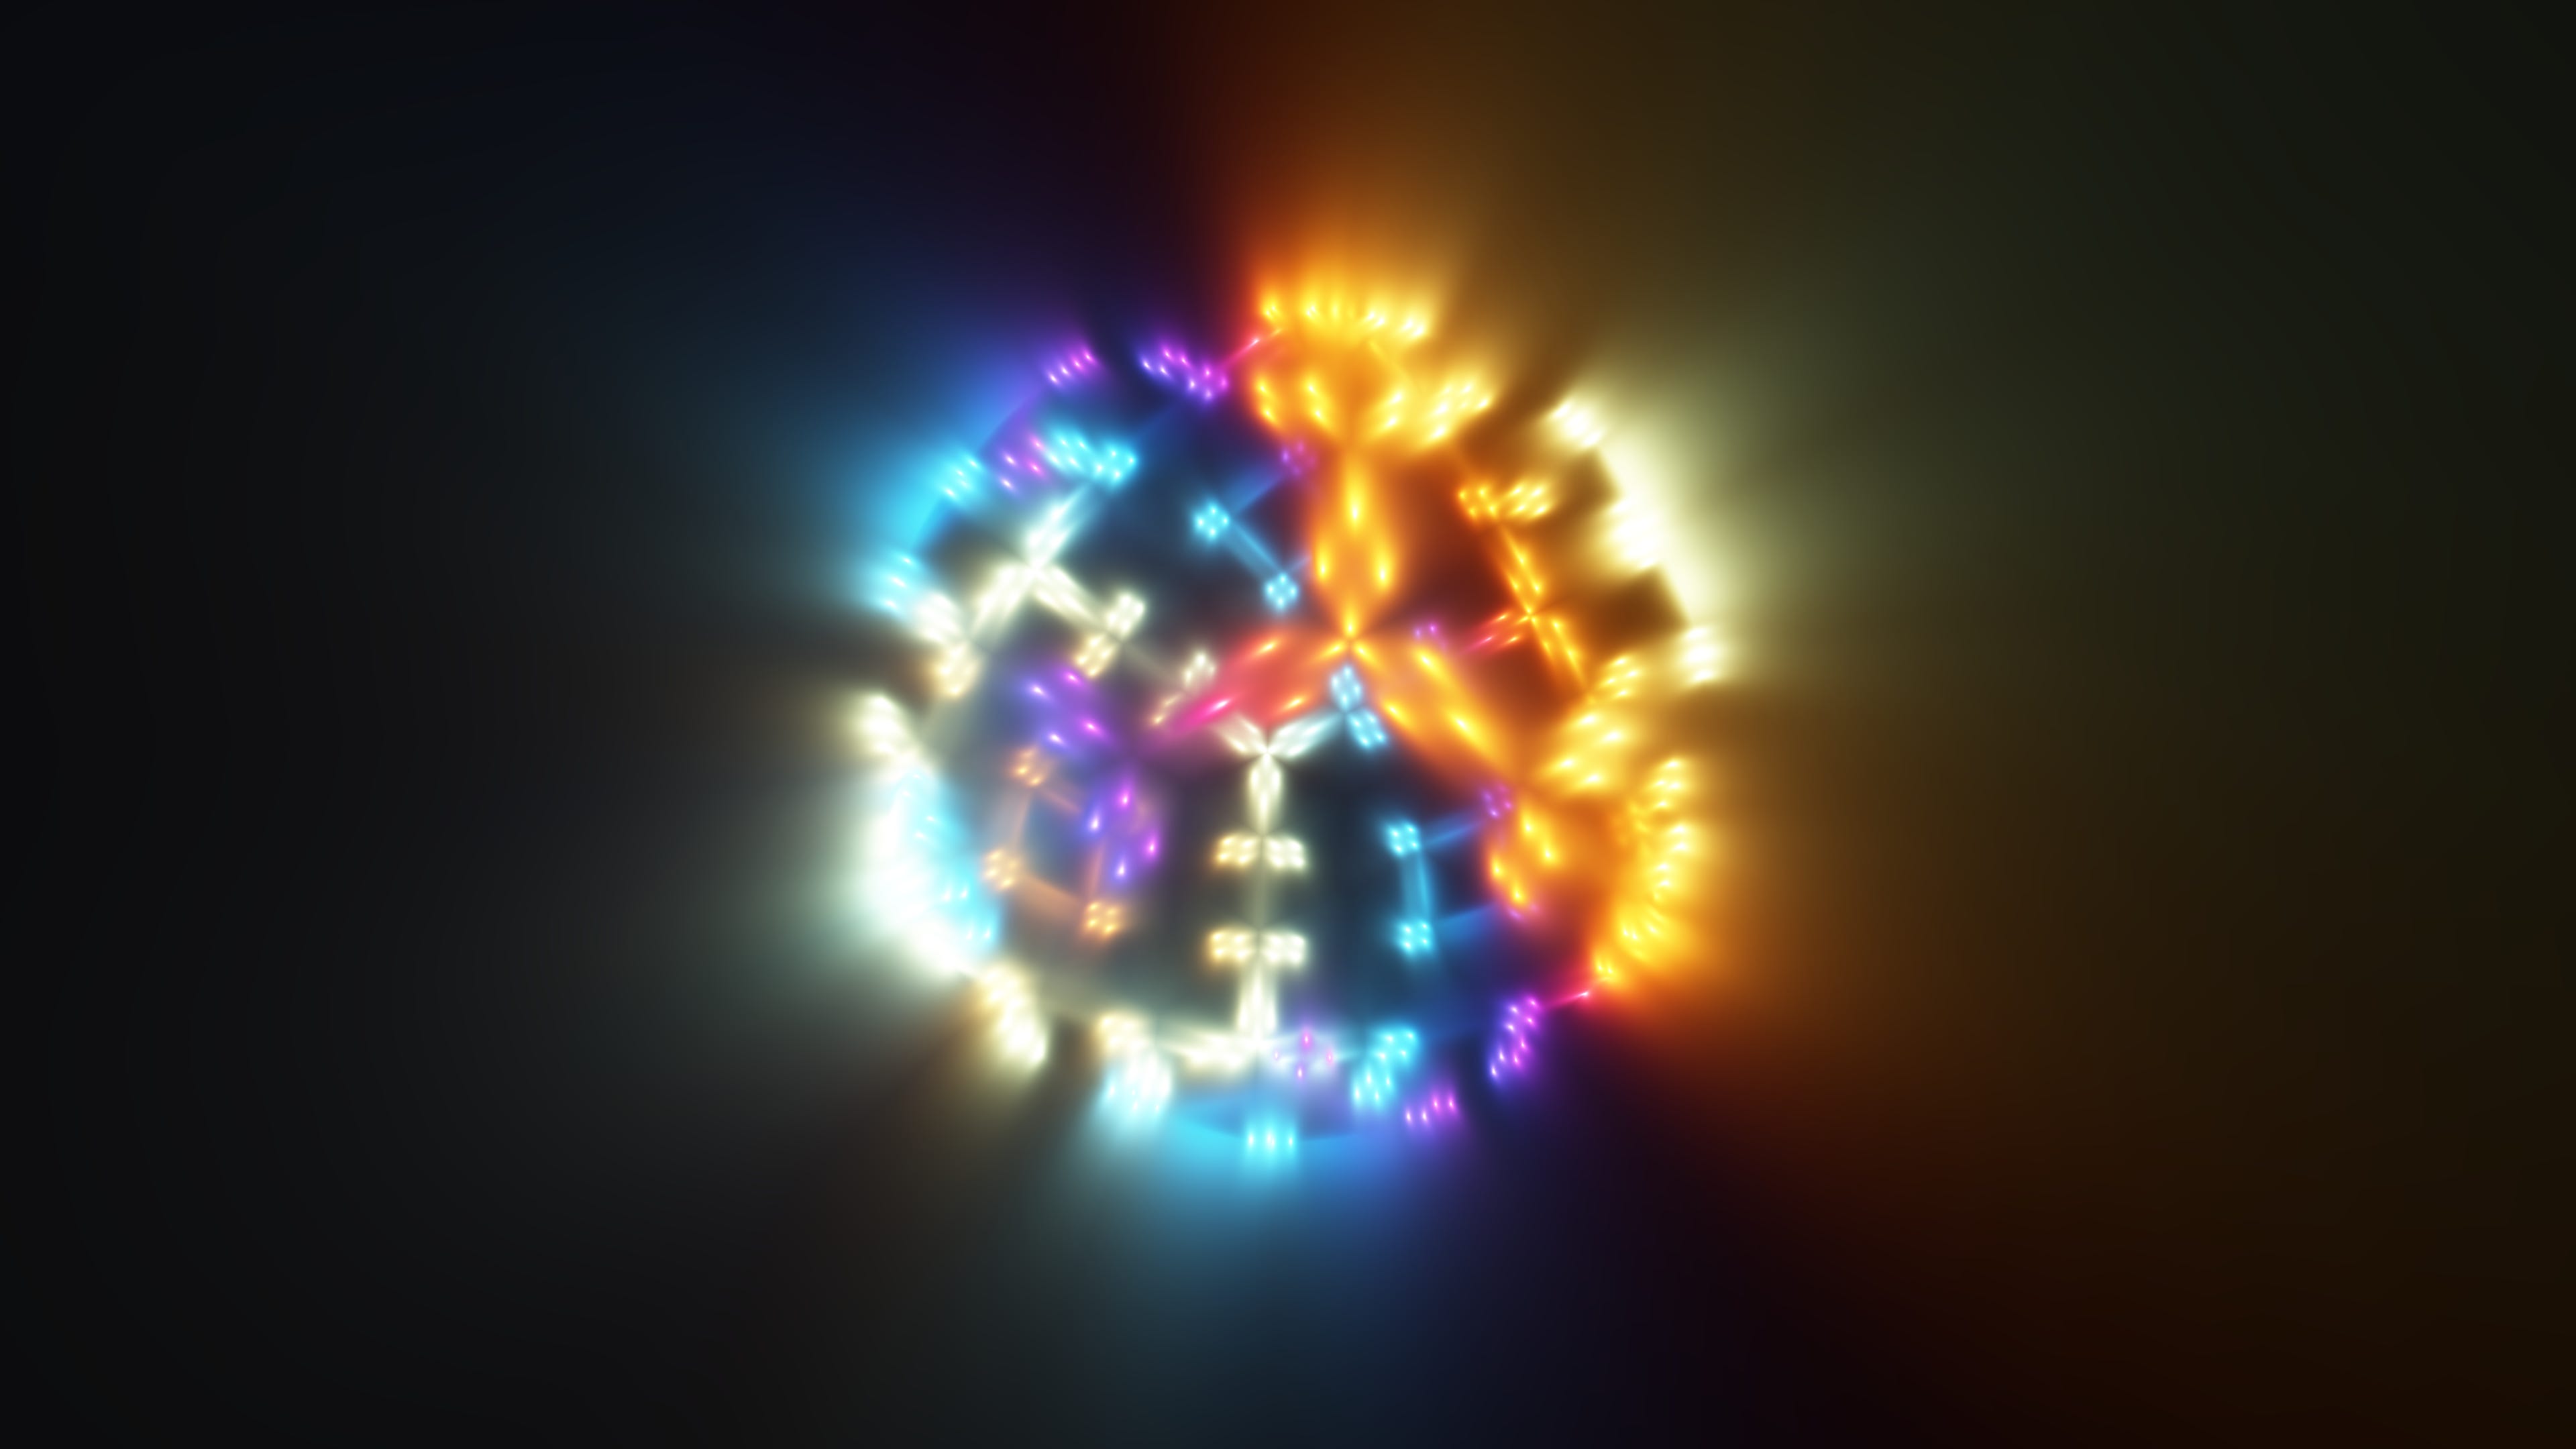
}We won’t worry about the SDF math right now. The important parts are with the density, which makes the raymarch steps smaller and the passthrough which allows the raymarcher to pass through the surface. By using the absolute value of the sum, it makes the distance field hollow, so when we add a little passthrough, the step size never reaches zero and the ray continues marching. Here’s what our octahedron looks like up close (yes, that is an octahedron with a lot of perspective and translucency)
My raymarch loop looks like this:
//Output brightness
#define BRIGHTNESS 0.002

//Accumulative color
vec3 col = vec3(0.0);

//Glow raymarch loop
for(float i = 0.0; i<STEPS; i++)
{
    //Glow density
    float vol = volume(pos);
    //Step forward
    pos += dir * vol;

    //Add the sample color
    col += vec3(3, 2, 1) / vol;
}
//Tanh tonemapping
//https://mini.gmshaders.com/p/tonemaps
col = tanh(BRIGHTNESS*col);
Each sample we add a color divided by the distance/density, which creates the nice light attenuation effect. Normally, you want to avoid dividing by the distance because it could be negative or zero (breaking the color accumulation). In this case, we know the volume will always be greater than one, so this works fine!
Other falloff functions can be used here. For extra fun, try changing the color and brightness based on the sample position.
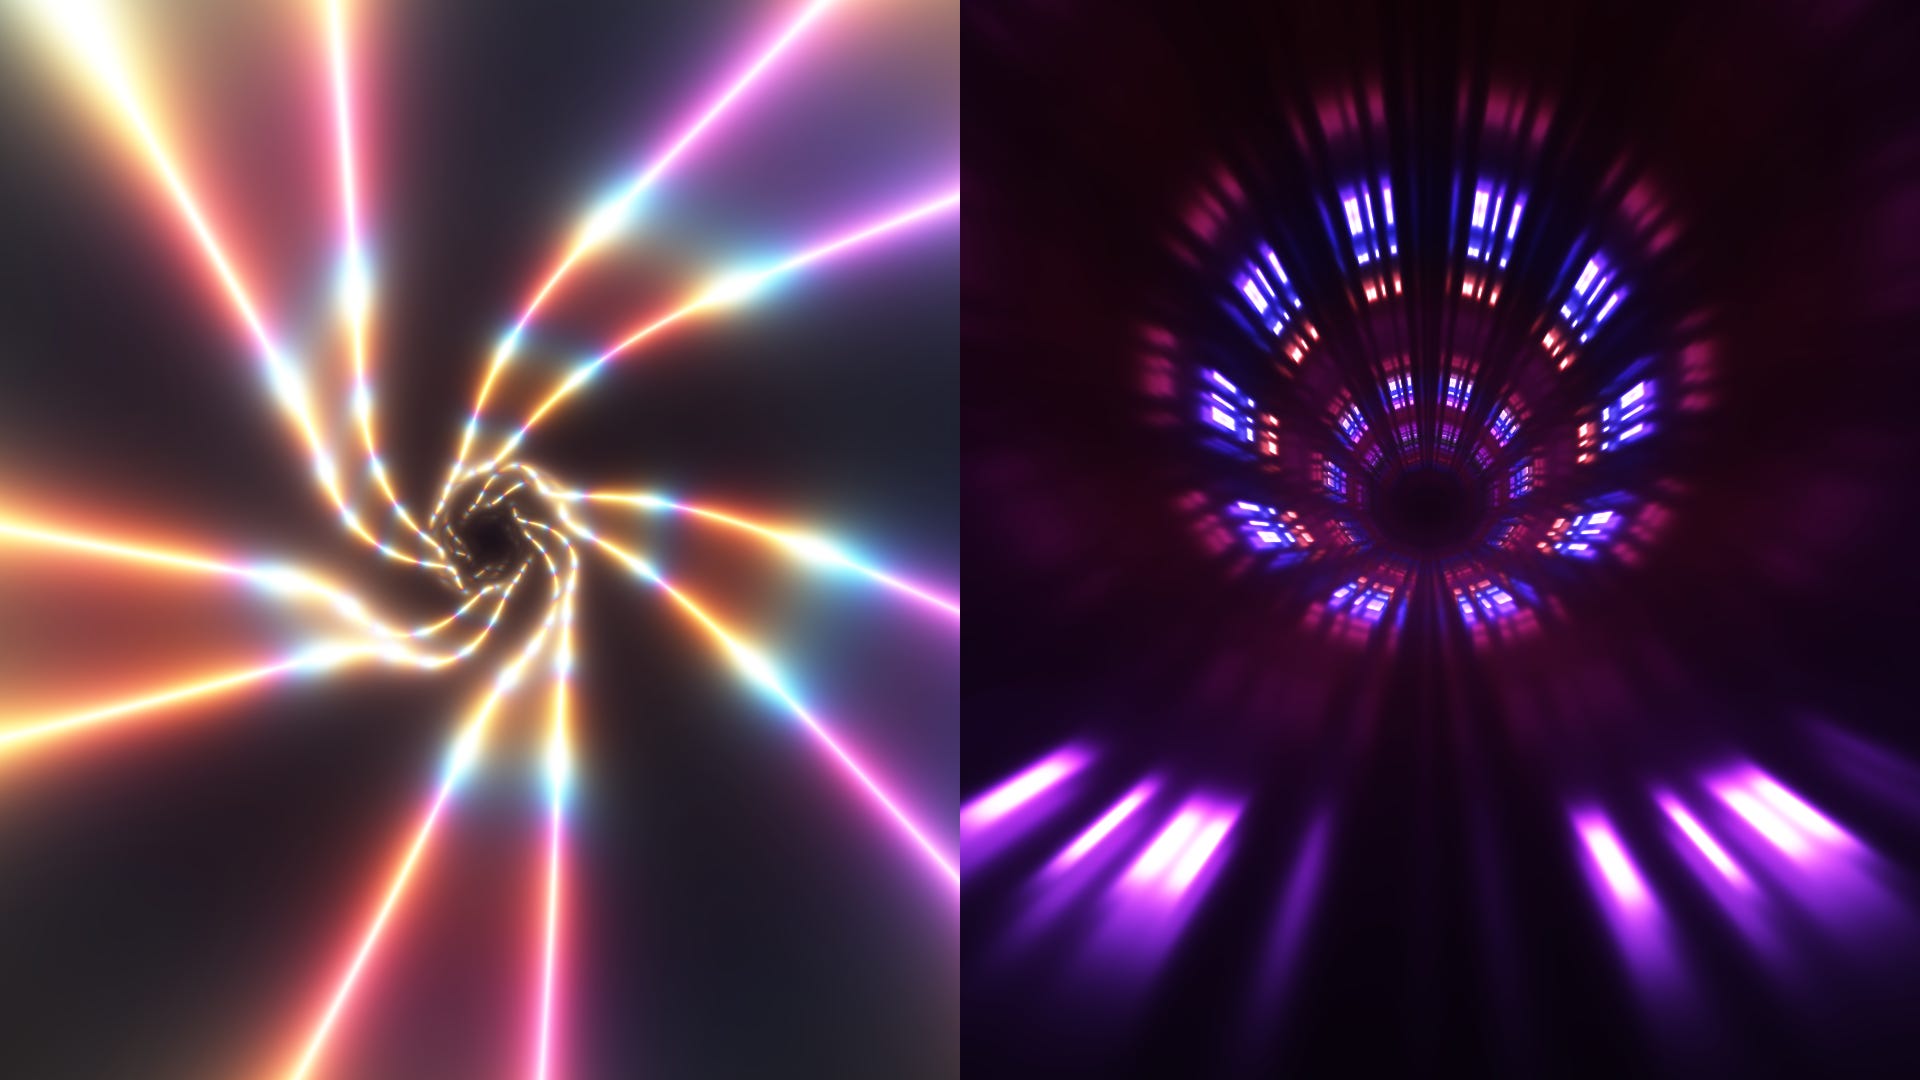
I’ve put together a more advanced demo on ShaderToy here.
This showcases how this technique can be used with light rays shooting out.
Glowing effects are pretty easy and fun!
Clouds, fog and smoke can be done with a alpha blending your samples.
Blending
Instead of just accumulating color, you can do regular alpha blending like so:
color = mix(color, vec4(sample_rgb,1), (1.0 - color.a) * sample_alpha);This gives you a new color for the next sample, to be blended like so.
It’s a good idea to stop raymarching when the color is opaque, because no more blending is going to happen:
//Stop when opaque (close enough to 1.0)
if (color.a > 0.998) break;
It never will quite reach 1.0 if you’re doing things correctly, so a threshold above 254 / 255 is good enough. Here’s the source to my Clouds ShaderToy example.
The rest of the tutorial is dedicated to my paid supporters, who help make these tutorials possible. Please consider joining!
