
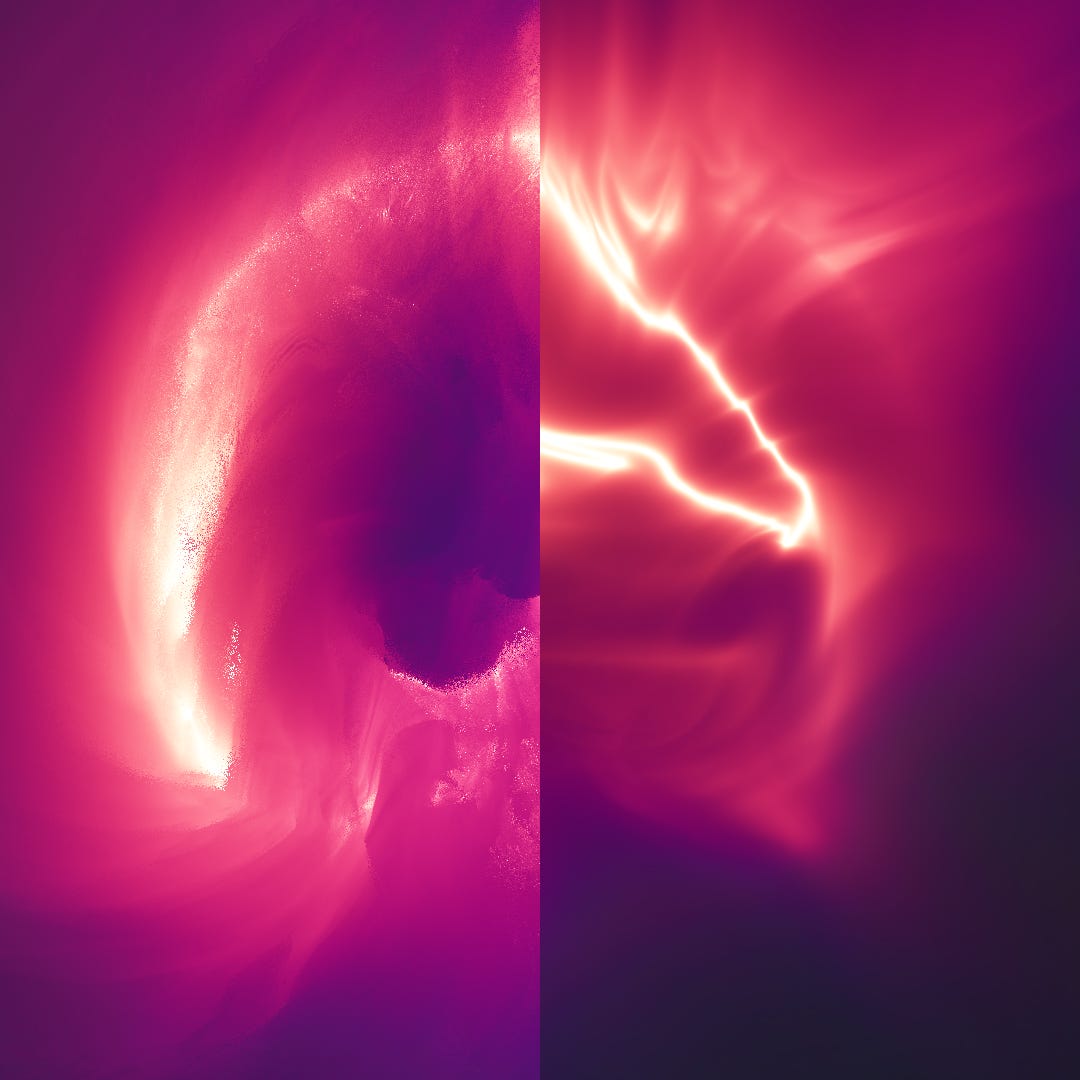
Decoding: Phosphor
How I created "Phosphor", with glowing, fluid particles, in just 258 chars

Heyo!
Many of you have asked me to do technical breakdowns for my compact shaders. Let’s begin this series with “Phosphor”:
Live demo
This fragment shader code is just 258 characters:
for(float i,z,d;i++<8e1;o+=(cos(d/.1+vec4(0,2,4,0))+1.)/d*z){vec3 p=z*normalize(FC.rgb*2.-r.xyy),a=normalize(cos(vec3(4,2,0)+t-d*8.));p.z+=5.,a=a*dot(a,p)-cross(a,p);for(d=1.;d++<9.;)a+=sin(a*d+t).yzx/d;z+=d=.05*abs(length(p)-3.)+.04*abs(a.y);}o=tanh(o/1e4);That tiny little code handles the raycasting algorithm, glowing attenuation, 3D scene rotation, camera displacement, turbulent fluid dynamics, and particle distribution along a 3D ring! It’s a lot to unpack.
Before we can look at the specifics of this shader, we need to understand the shader format and variables.
Twigl Format
These tiny shaders are written for “twigl.app”, which is a minimal online shader editor like ShaderToy, designed specifically for writing shaders to share on Twitter/X in 280 chars or less. Twigl is handy because in the compact “geekest 300” mode, it compresses the variable names like gl_FragColor to “o”, gl_FragCoord to “FC”, resolution to “r” and time to “t”. It also automatic inserts your pasted code into the main function so there is no generic code required and you can focus on the parts that matter.
It also adds some handy functions, a backbuffer and which I wrote about in more detail here, but for our purposes now, this is enough!
Adding Breathing Room
When I am sharing code on X, every character counts, including spaces and line breaks. Usually, I don’t have enough room to spare for pretty code formatting.
With some spaces, line break,s and comments, we have this expression:
//Initialize Iterator, Z-depth and step Distance variables
//Raymarch 80 steps
for(float i,z,d; i++<8e1;
  //Pick a color and light attentuation
  o += (cos(d/.1+vec4(0,2,4,0))+1.)/d*z)
{
  //Raymarch step sample point
  vec3 p = z*normalize(FC.rgb*2.-r.xyy),
  //Twisting rotation axis vector
  a = normalize(cos(vec3(4,2,0)+t-d*8.));

  //Move camera back 5 units
  p.z += 5.,
  //Rotate sample using the axis
  a = a*dot(a,p)-cross(a,p);

  //Apply turbulence waves at 9 frequencies
  for(d=1.;d++<9.;)
  a += sin(a*d+t).yzx/d;

  //Approximate distance to ring and step forward
  z += d = .05*abs(length(p)-3.)+.04*abs(a.y);
}
//Tonemap with tanh
o = tanh(o/1e4);
Already, this should be much more digestible, but there are several unique techniques being used here, so let’s do a closer, line-by-line analysis.
Raymarching
The very first line is the raymarch loop:
for(float i,z,d; i++<8e1; …Raymarching is a type of raycasting algorithm that marches in steps along the ray direction until it intersects with a surface or gets close enough. Each step along the way, it checks the (approximate) distance to the nearest surface and steps that far in the ray direction. If the distance is done exactly, you’re guaranteed not to pass through any surfaces.
This raymarch loop initializes the iterator “i”, the raymarched “z” depth, and the step distance “d”, which will be useful later. When undefined, these variables are all initialized at 0.0, and so the loop executes 80 steps.
The next line actually executes last. In GLSL, for loops are in the format:
for(INIT; COND; LAST)The “INIT” part can be left blank, but it’s a free semi-colon, so I always use it! “COND” is the continue conditional boolean; if it’s true, it repeats the loop, otherwise the loop stops. The last step is usually the increment “i++” part, but not for a code-golfer. For me, it’s the last line, saving another semi-colon.
So the final step is this part, which handles the coloring. More on this later…
o += (cos(d/.1+vec4(0,2,4,0))+1.)/d*z)Next, I calculate where the sample is along the ray:
vec3 p = z*normalize(FC.rgb*2.-r.xyy),“z” is the raymarched depth along the ray (more on that later). The normalized bit is for calculating the ray direction for each fragment/pixel. FC is not just a 2D vector with fragment coordinates on the screen. It is a 4D vector with z component being 0.5 and w being 1.0. (I use .rgb instead of .xyz to avoid the code being translated to a URL). Another way to understand the vector inside normalize:
//Center the xy coordinates and z is minus screen height
vec3(FC.xy*2.0 - r, 1.0 - r.y)

//Since we're normalizing this vector, the length doesn't matter
//We could divide all components by the screen height
//That gives us a more familiar ray direction formula
vec3((FC.xy*2.0 - r) / r.y, - 1.0)
//The xy coordinates are normalized and ratio-correct.
//The z axis is approximately negative -1.0 when the height is high
We end up with a compact way of writing the standard camera ray direction, just with the camera facing the negative-z direction instead of positive z!
Rotation and Trailing
This next part deserves a full tutorial on its own (it’s on the list):
a = normalize(cos(vec3(4,2,0)+t-d*8.));For a simplified explanation, this calculates a rotation axis vector with the x, y, and z out of phase from one another. Adding the time “t” means it completes the rotation cycle every Tau (6.283…) seconds. Remember, “d” is the step distance (which gets defined later). When we subtract the distance to the ring from time, it means that the rotation axis lags behind when the sample point is further from the ring. Without this bit, we would have no trailing effect!
Before applying the rotation, we move the camera back 5 units:
p.z += 5.,This makes it revolve around the sphere. Remember that backwards is positive here.
This simple formula applies the actual rotation to vector “p” on axis “a”
a = a*dot(a,p)-cross(a,p);This is based on a longer formula for 3D rotations:
mix(a*dot(p,a), p, -cos(t)) + sin(t) * cross(p,a)Which rotates about “a” with angle “t”. In this shader, I simplified by hard-coding the angle of 270 degrees (cos(t) = 0 and sin(t) = -1). This allowed me to remove the sine, cosine, and mix functions. So instead of rotating around a fixed axis, I rotate a fixed angle around a moving axis. It creates some interesting motion, too!
Turbulence
The next piece is the application of fluid-like dynamics:
for(d=1.;d++<9.;)
  a += sin(a*d+t).yzx/d;
The idea is simple. Just apply some perpendicular sine waves. When repeated at frequencies from 1 to 9. This is a reduced version of my turbulence technique:
Turbulence

What do water, fire, dust, magic, wind, fog, smoke and clouds have in common? They are all heavily influenced by turbulent dynamics. Gases and non-viscous liquids twirl and flow in a way that is quite difficult to compute.
Ring
To approximate the distance, we start with the distance to a hollow sphere (without turbulence) plus the distance to the plane (with turbulence):
z += d = .05*abs(length(p)-3.)+.04*abs(a.y);I multiplied the step distances by very small factors because the turbulence and twisting distorts the distance fields a lot, so it makes it less likely to overstep.
This distance gets fed into the color function:
o += (cos(d/.1+vec4(0,2,4,0))+1.)/d*z)Every raymarch step, I pick a color using the step distance to pick the hue. The color is picked using a sine wave with RGBA phase shifting (the alpha isn’t important). Adding 1.0 puts the color in the [0.0, 2,0] range (don’t want negative colors). Dividing by the distance gives a nice light attenuation effect. Multiplying by z makes it fade when it gets close to the camera.
Phosphor 2 and Nucleus
Phosphor 2 is the same idea, but with coloring based side of the plane, the different rotation pattern, a sharper sphere falloff, and darker overall:
Phosphor 2 Demo
Nucleus simplifies the coloring, removes the plane, and uses the turbulence sphere coordinates instead:
Nucleus Demo
So that’s how it works. 3 shaders in one! Hopefully, that made sense and was interesting. Thank you for reading, and I’ll talk soon.
Nucleus is my favorite. But they’re all so beautiful!
Nucleus reminds me a lot of VFX I see in games, like a swirling ball that casters throw.
Is this fragment shader approach appropriate though for use in games or is a particle emitter approach probably better? I know it would be unconventional for sure, but I do wonder if it would work!
Love these :)
Would it be possible to add twi.gl links to the shaders in this article, so we can see them rendered without compression?